

Good grow tent ventilation does more than remove hot air. A balanced system replaces stale air, manages humidity, distributes fresh air around the canopy, and routes odors through a carbon filter. Temperature and relative humidity also affect vapor pressure deficit (VPD), a useful way to understand how readily plants lose moisture through their leaves.
You do not need to master complicated calculations to get started. A correctly sized exhaust fan, a clear intake path, gentle circulation, and a reliable thermometer/hygrometer will solve many common environmental problems. For help choosing and placing a meter, see our grow tent hygrometer guide.
Why Does a Grow Tent Need Ventilation?
- Fresh air supplies carbon dioxide for photosynthesis.
- Exhaust removes heat generated by grow lights and equipment.
- Air exchange helps remove moisture released by plants and wet growing media.
- A properly matched carbon filter reduces odors in the exhausted air.
- Gentle circulation discourages stagnant pockets of air and keeps conditions more even across the canopy.
What Equipment Do You Need?
- Inline exhaust fan: pulls warm, humid air out, usually through a high tent port.
- Activated carbon filter: connects upstream of the exhaust fan so exhausted air passes through the filter.
- Ducting and clamps: carry air away from the tent with as few bends as possible.
- Intake opening: a screened lower port or vent that allows replacement air to enter.
- Oscillating or clip-on circulation fan: moves air gently inside without blasting one spot.
- Thermometer/hygrometer: measures conditions near canopy height, shielded from direct lamp radiation.
- Optional controller, humidifier or dehumidifier: helps stabilize conditions as the room and weather change.
A matched fan-and-filter kit simplifies compatibility. Check actual airflow, duct diameter, filter rating, and noise level rather than buying by tent size alone.
How to Choose the Right Inline Fan
Inline fan capacity is rated in cubic feet per minute (CFM). Start by calculating the tent volume, then allow extra capacity for the resistance created by the filter, ducting and bends.
- Measure the inside dimensions of your tent in feet: length × width × height = cubic feet.
- Use roughly one tent-volume exchange per minute as an initial sizing benchmark, not a fixed requirement.
- Allow extra capacity for a carbon filter, long duct runs, elbows and hot intake air. A 25–50% margin is a starting estimate; restrictive layouts can require more.
- Select a controllable fan that can meet your actual airflow needs without running at full speed all the time.
| Tent size | Tent volume | Illustrative base airflow | With 25–50% margin |
|---|---|---|---|
| 2 × 2 × 4 ft | 16 ft³ | 16 CFM | 20–24 CFM |
| 2 × 4 × 5 ft | 40 ft³ | 40 CFM | 50–60 CFM |
| 3 × 3 × 6 ft | 54 ft³ | 54 CFM | 68–81 CFM |
| 4 × 4 × 6.5 ft | 104 ft³ | 104 CFM | 130–156 CFM |
These numbers are simple volume calculations, not a guarantee of real airflow. Manufacturers typically rate fans under specified test conditions; a filter and duct run reduce delivered CFM. Larger tents, higher heat loads, or very humid rooms may need more ventilation than this baseline suggests.
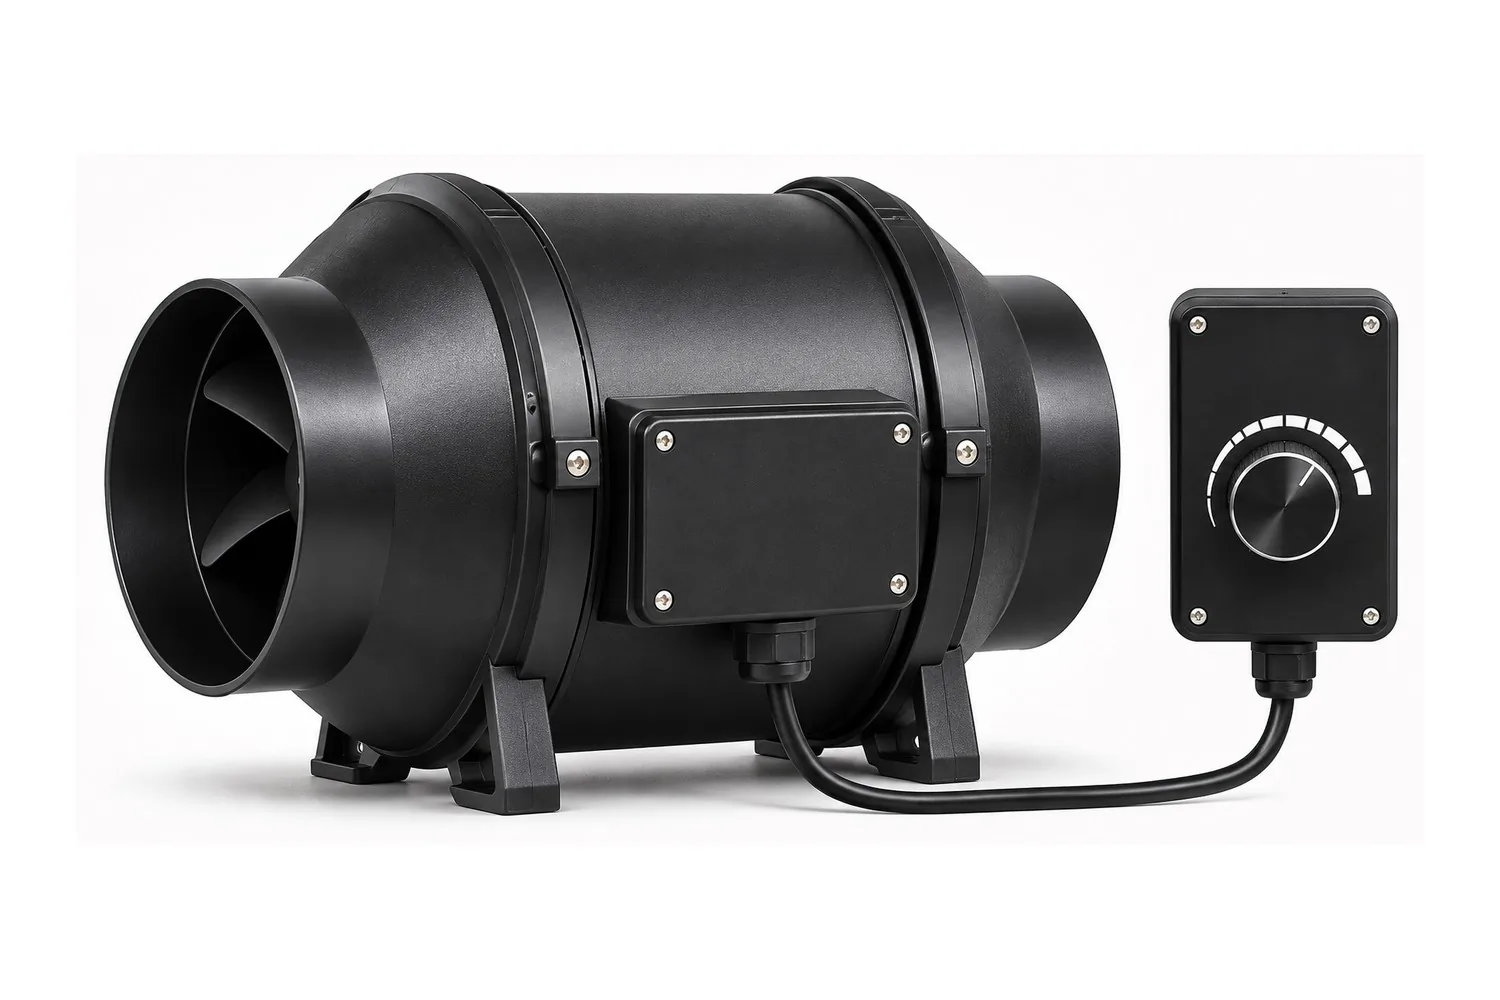
Hollywood’s tip: Buy a fan with a speed controller and run it at the lowest speed that keeps temperature and humidity on target. It’s quieter, the filter lasts longer, and on hot days you’ve got power in reserve instead of a fan already maxed out.
How to Install an Inline Fan, Carbon Filter and Ducting
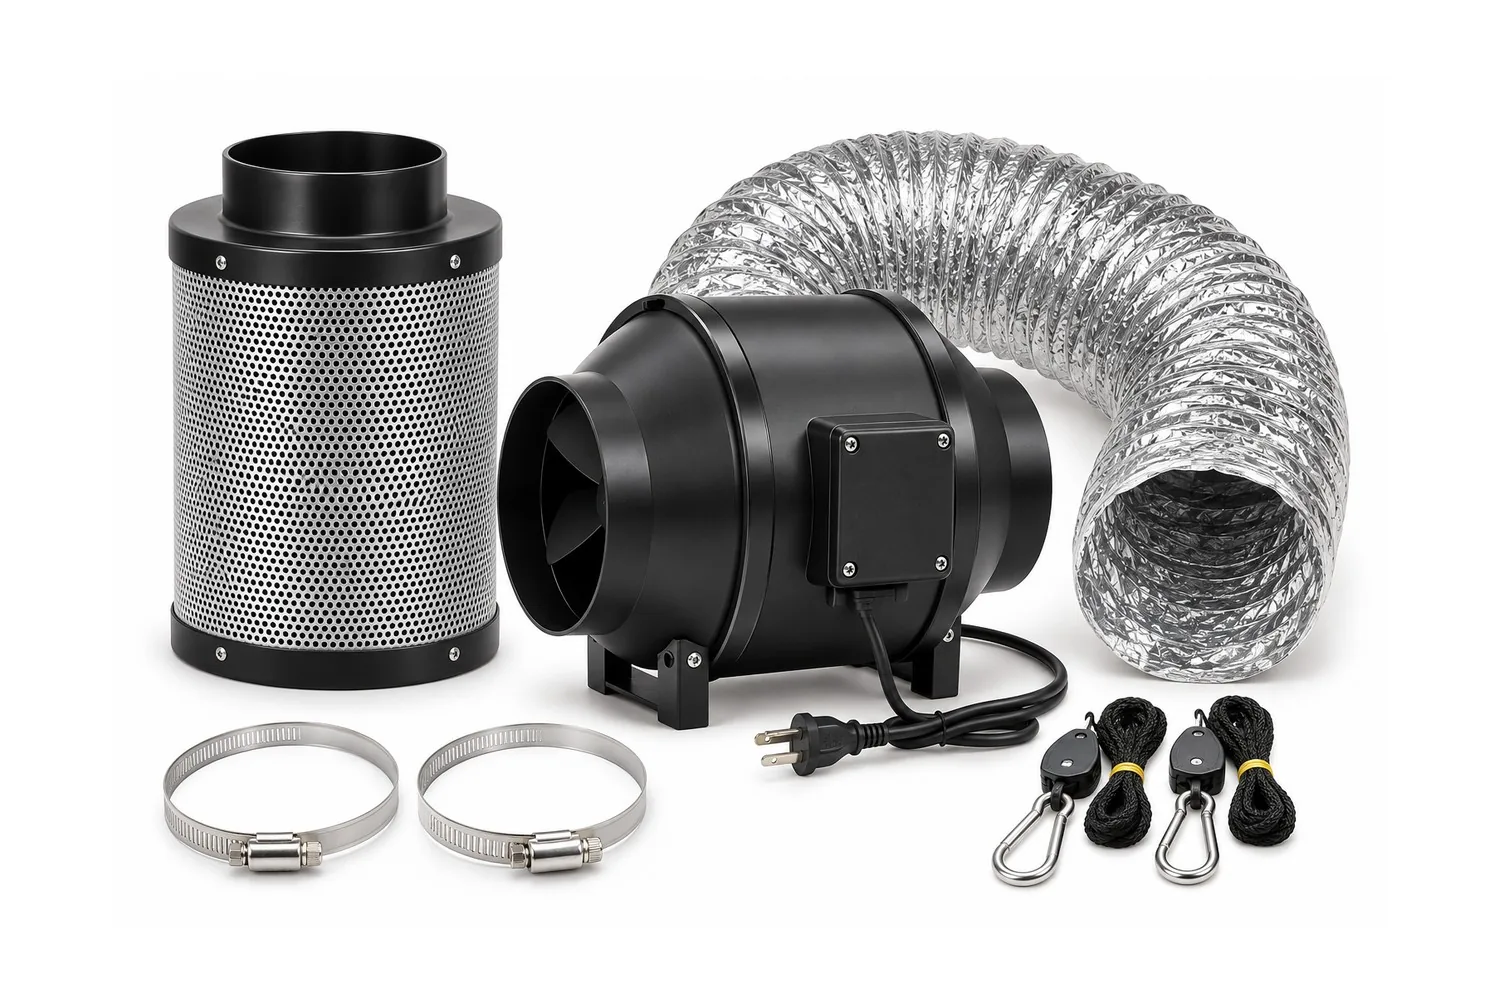
- Hang the carbon filter near the top of the tent, where warm air naturally accumulates. Leave clearance around its intake surface.
- Connect the filter outlet to the inline fan inlet using a short section of matching duct or the manufacturer’s coupling. Follow the airflow arrow on the fan housing.
- Connect the fan outlet to ducting that exits the tent through a high port. Tighten clamps and seal obvious leaks with suitable HVAC foil tape.
- Route the exhaust away from the tent’s intake air. Where permitted, vent outside the room; otherwise, understand that exhausting back into the same room returns heat and moisture to the space.
- Open a lower screened intake vent. The opening should be large enough that the fan is not starved for air.
- Start the exhaust fan at a moderate speed. Check that the tent walls pull inward slightly, indicating negative pressure, without collapsing tightly.
- Position a separate circulation fan to move leaves gently rather than continuously blowing hard on one plant.
- Run the system and monitor temperature and humidity with lights both on and off. Adjust fan speed and room conditions as needed.
Keep electrical connections above wet floors and away from splashes. Use properly rated equipment, avoid overloaded power strips, and follow fan, filter and heater manufacturer instructions. Never restrict exhaust so severely that equipment overheats.
Duct-Run Tips
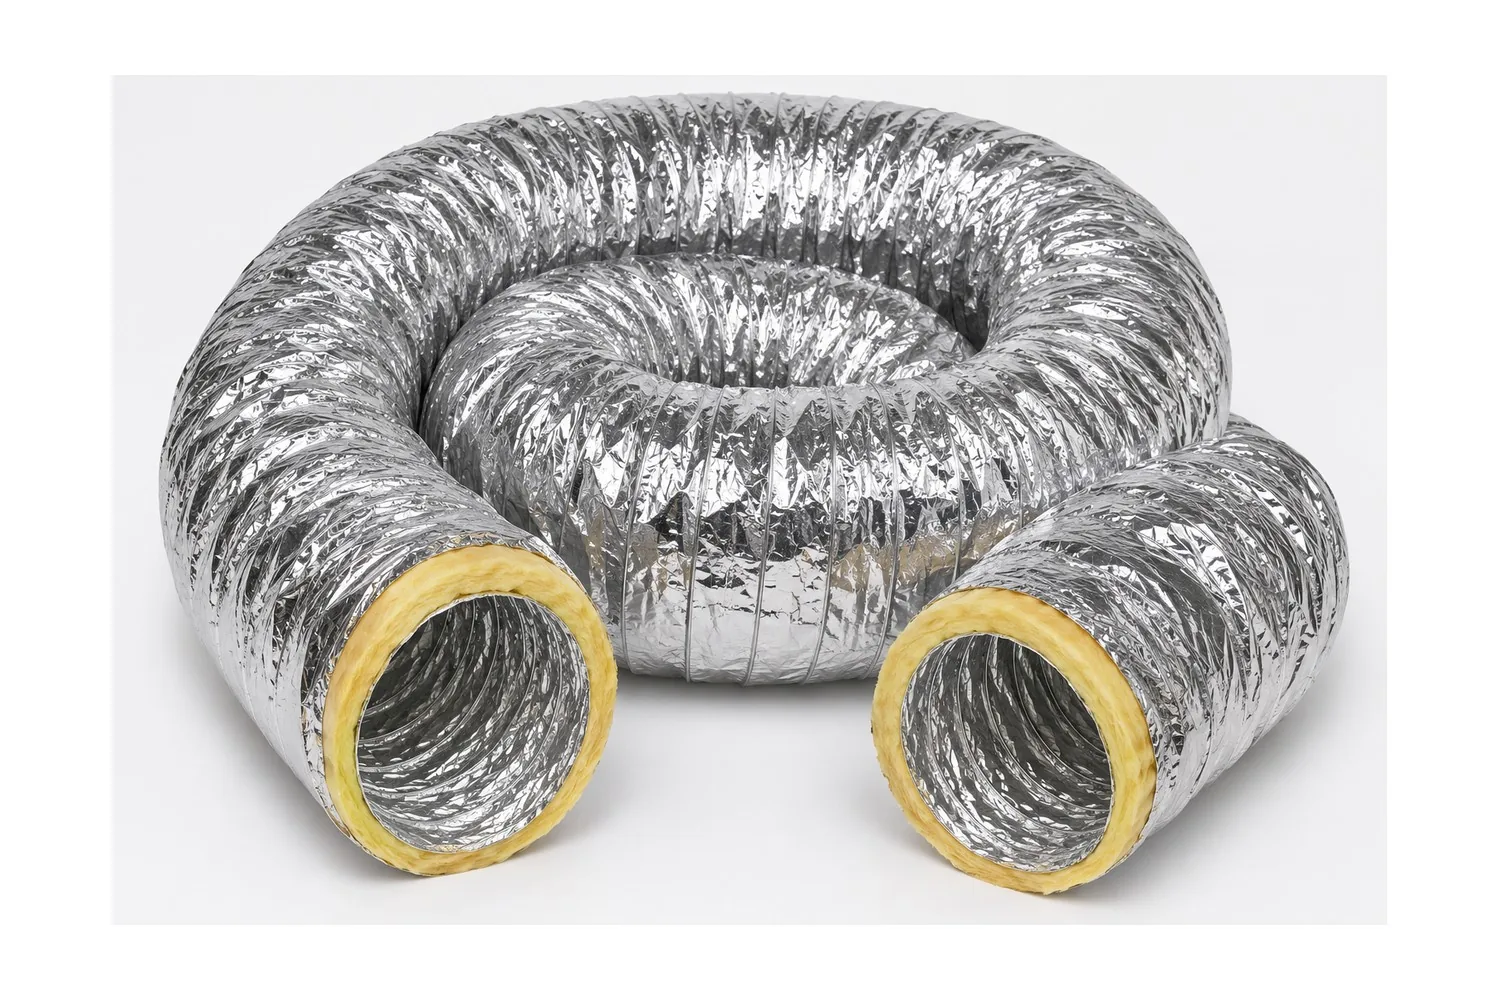
Keep duct runs short and as straight as possible. Avoid crushed tubing, sharp elbows and loose joints. Insulated flexible ducting can reduce noise and condensation when temperature differences are significant.
Airflow Inside the Tent
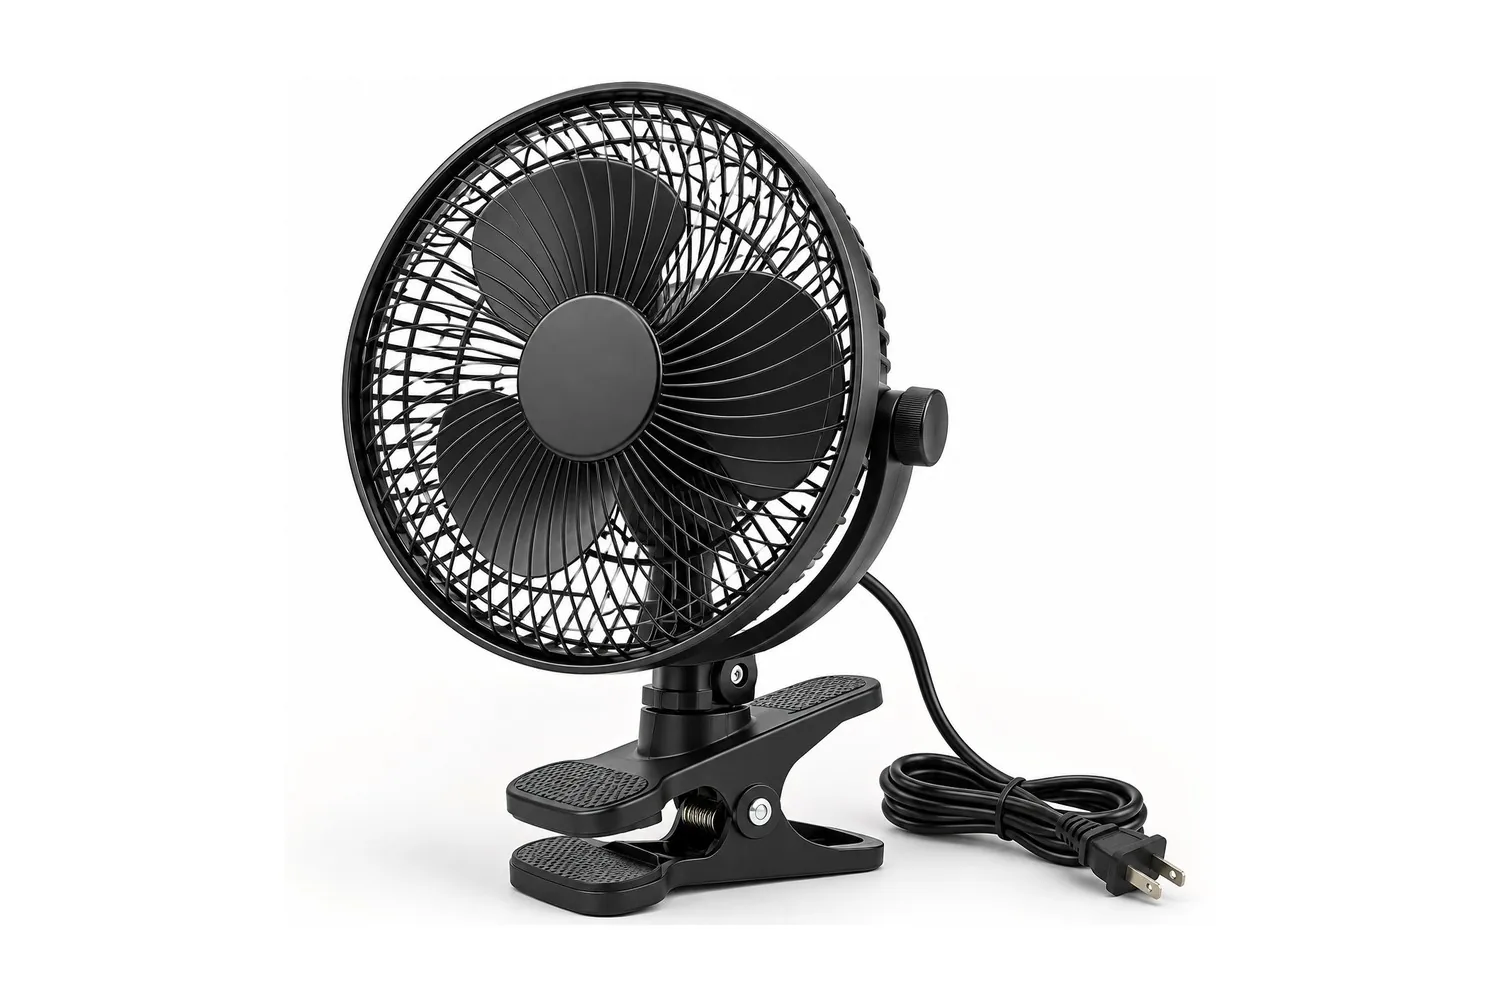
Clip an oscillating fan securely to a tent pole and aim for gentle, indirect air movement across the canopy. Avoid constant strong wind on one spot, and keep cords away from water.
What Temperature and Humidity Should You Aim For?
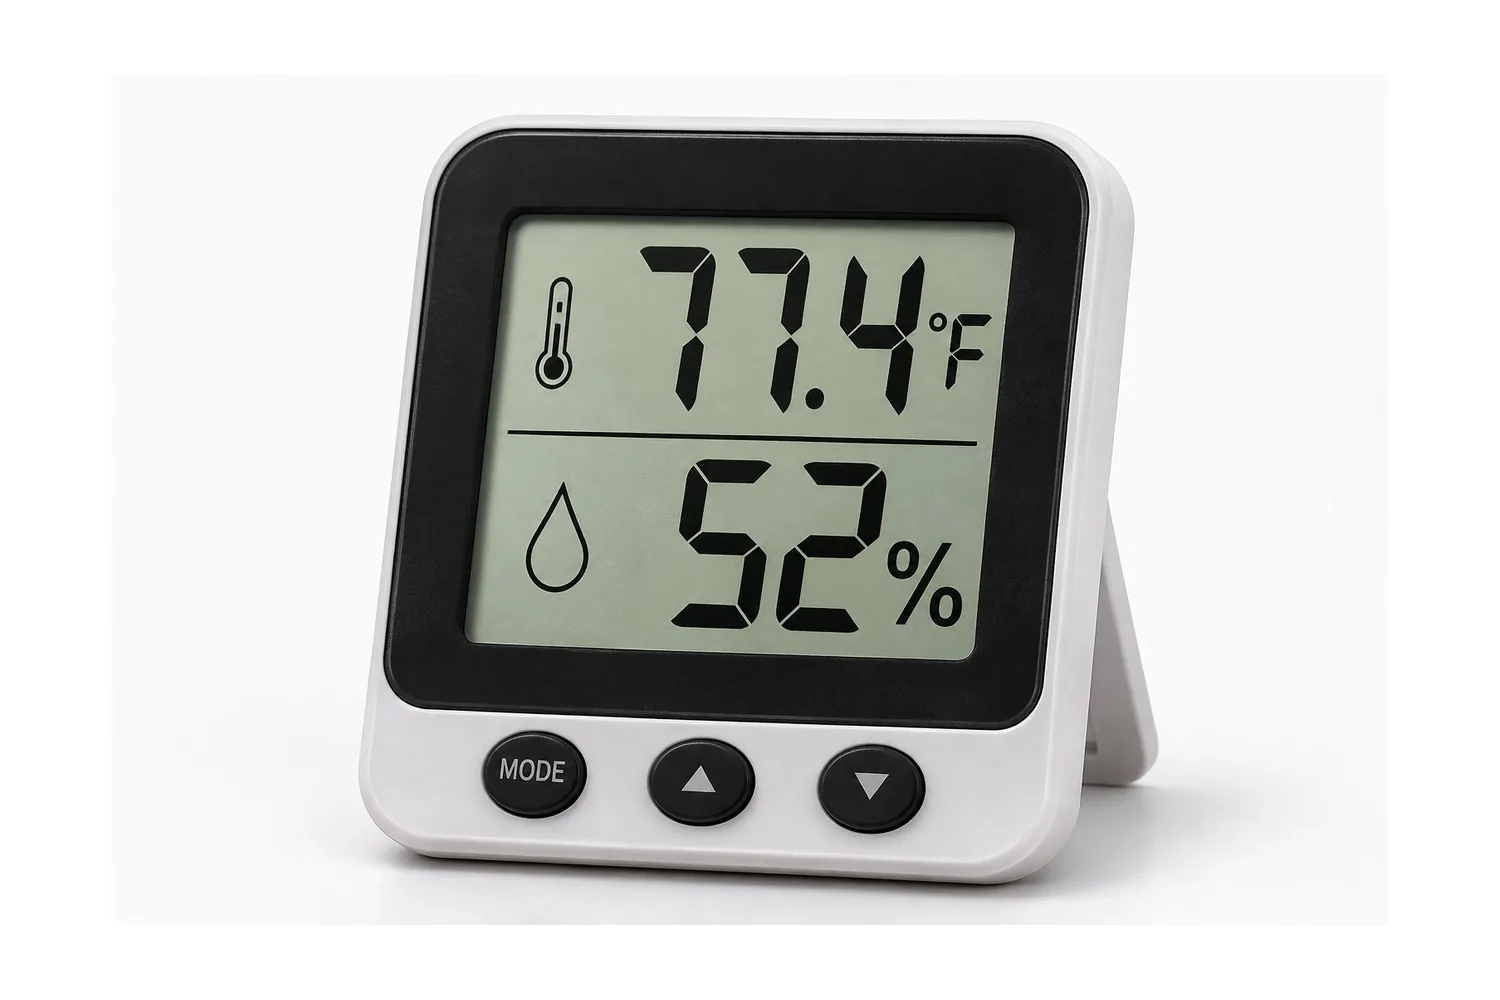
The following are commonly used starting ranges for indoor cannabis cultivation, not universal requirements. Genetics, light intensity, leaf temperature, airflow and local conditions all matter.
| Growth stage | Air temperature, lights on | Relative humidity | Practical emphasis |
|---|---|---|---|
| Seedling / early rooting | 72–79°F (22–26°C) | 65–75% | Avoid drying tender young plants |
| Vegetative growth | 72–82°F (22–28°C) | 50–70% | Steady airflow and moderate moisture |
| Early flowering | 68–80°F (20–27°C) | 45–60% | Watch humidity as canopy density increases |
| Late flowering | 65–78°F (18–26°C) | 40–50% | Reduce persistent moisture and condensation |
| Drying | ~60–68°F (16–20°C) | ~55–65% | — |
Measure at canopy level, away from direct light and water spray. During lights-off periods, a modest temperature drop is normal, but a large drop can raise relative humidity sharply and increase condensation risk.
What Is VPD in Simple Terms?
VPD stands for vapor pressure deficit. It describes the difference between the moisture the air could hold at saturation and the moisture actually present, expressed in kilopascals (kPa). As air gets warmer or drier, VPD generally rises; as relative humidity increases, VPD falls.
Low VPD means the air is less drying. High VPD means it is more drying. Both extremes can make environmental management harder. VPD is a guide to balancing temperature and humidity, not a substitute for observing the plants and preventing condensation.
| Growth stage | Common approximate leaf-VPD starting range |
|---|---|
| Seedling / early rooting | 0.4–0.8 kPa |
| Vegetative growth | 0.8–1.2 kPa |
| Flowering | 1.0–1.5 kPa |
VPD charts vary because some use air temperature alone while others account for leaf temperature. The table below uses an illustrative leaf temperature about 2°F (1.1°C) cooler than the surrounding air. Actual leaf temperature can differ substantially.
| Air temperature | 40% RH | 50% RH | 60% RH | 70% RH |
|---|---|---|---|---|
| 70°F | 1.34 | 1.09 | 0.84 | 0.59 |
| 75°F | 1.59 | 1.29 | 0.99 | 0.70 |
| 80°F | 1.88 | 1.53 | 1.18 | 0.83 |
| 85°F | 2.21 | 1.80 | 1.39 | 0.98 |
Example: At 80°F and 60% relative humidity, the illustrative leaf VPD is approximately 1.18 kPa. Use a leaf-temperature measurement when precision matters; do not chase a chart number at the expense of healthy conditions.
Fighting damp air? See how to lower humidity in a grow tent for nine fixes, cheapest first.
How to Lower Grow Tent Temperature
- Increase exhaust airflow if the intake air is cooler than the tent.
- Exhaust heat out of the room rather than recirculating it nearby.
- Cool the room supplying intake air; an exhaust fan alone cannot reliably cool below intake temperature.
- Adjust lighting output or fixture placement according to the light manufacturer’s guidance.
- Consider running lights during cooler hours, where practical.
- Check for blocked intake screens, crushed ducting or excessive duct bends.
How to Lower Humidity
- Increase air exchange when incoming air is actually drier in absolute moisture content.
- Use a properly sized dehumidifier in the surrounding room when outdoor or intake air is humid.
- Avoid standing water in saucers and remove runoff promptly.
- Water appropriately and avoid leaving the medium constantly saturated.
- Improve circulation through crowded areas without creating harsh direct wind.
- Monitor lights-off humidity and reduce sharp overnight temperature drops.
Humidity control is especially important when flowers become dense, because prolonged dampness can favor fungal growth. More: Cannabis Mold and Bud Rot.
Strain descriptions may mention disease resistance, but no variety is immune to mold; good environmental control still matters. See ILGM GG4 Autoflower.
How to Raise Humidity
- Use a clean, appropriately sized humidifier, especially for young plants.
- Reduce exhaust speed cautiously if temperature, carbon dioxide supply and odor control remain adequate.
- Use a suitable humidity dome for very young seedlings, with ventilation and regular monitoring.
- Avoid spraying leaves beneath intense lighting or allowing water to sit on foliage.
Growing in a cold basement or garage? Our guide on how to keep a grow tent warm covers light timing, fan speed, insulation and safe heaters.
How to Control Odor
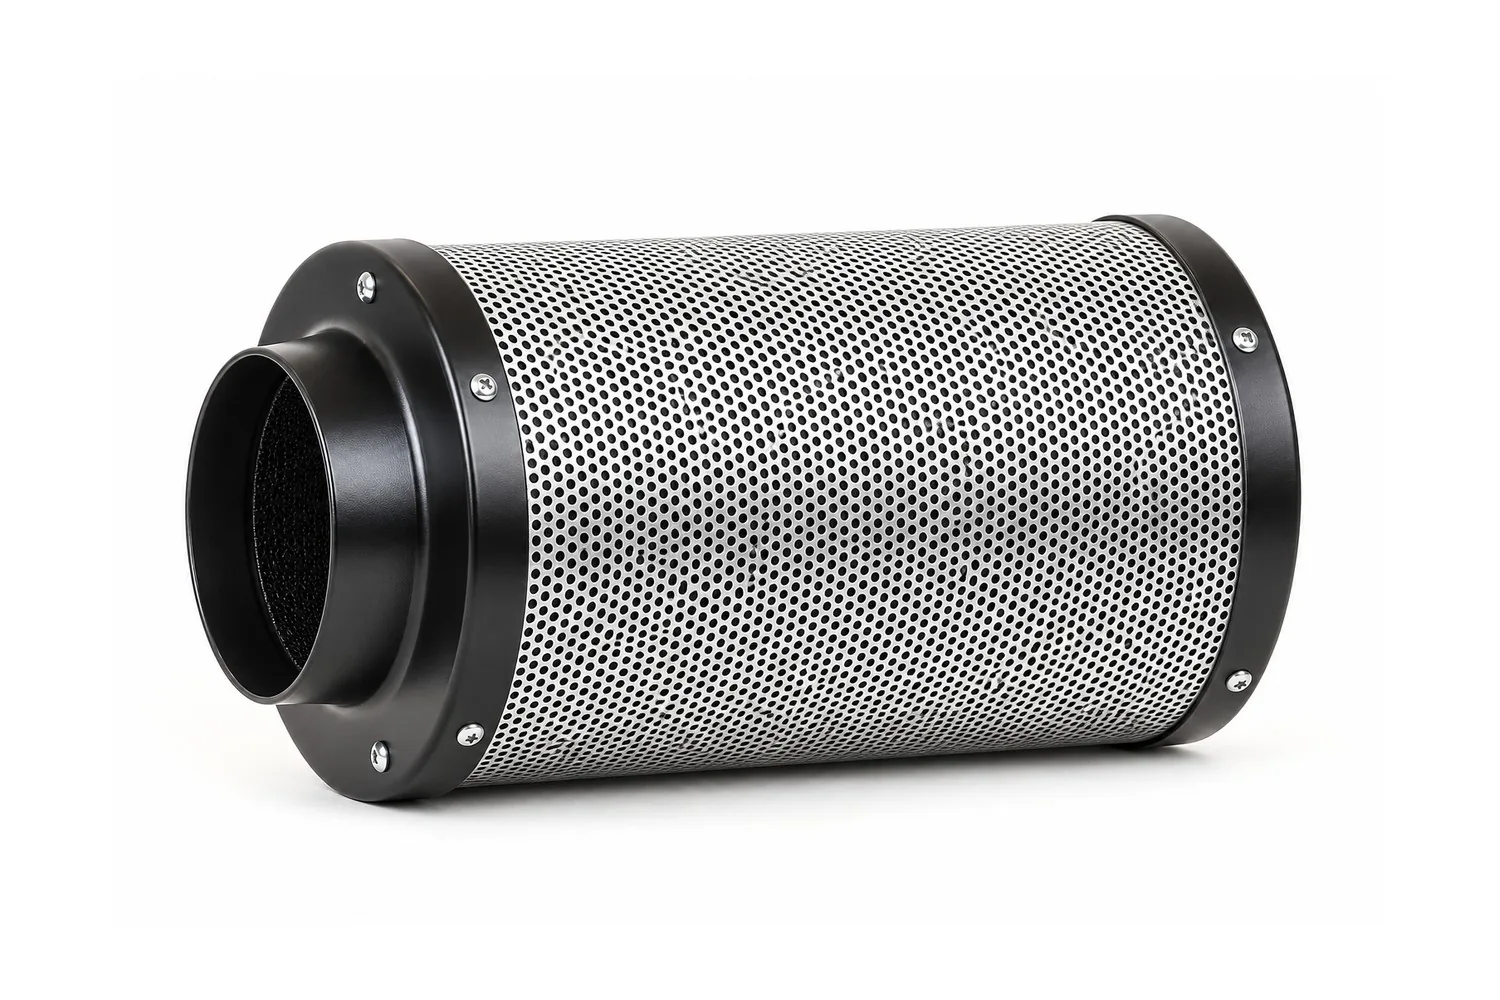
- Route all intended exhaust air through a correctly sized carbon filter.
- Maintain slight negative pressure so unfiltered air is less likely to escape through seams.
- Inspect duct clamps, connections and zippers for leaks.
- Replace or service filters according to manufacturer guidance and actual performance.
- Remember that humidity, high airflow and worn carbon can reduce filtration effectiveness.
Common Ventilation Problems and Quick Fixes
| Symptom | What to check | First adjustment |
|---|---|---|
| Tent too hot | Intake room temperature, fan speed, duct restrictions | Improve exhaust and cool intake room |
| Humidity spikes at night | Temperature drop and wet media | Control room moisture and overnight temperature |
| Strong odor outside tent | Filter sizing, leaks, negative pressure | Inspect filter path and seals |
| Tent walls pull in excessively | Intake too small or blocked | Open more screened intake area |
| Leaves move violently | Circulation fan too close | Redirect or reduce internal fan speed |
| Fan is noisy but airflow weak | Duct bends, blocked filter, fan performance | Shorten/straighten ducting and inspect filter |
Frequently Asked Questions
Do I need an inline fan in a small grow tent?
Usually, yes. Even a compact tent needs a way to exchange air and manage accumulated heat and moisture. The appropriate fan speed depends on the actual setup.
Should the exhaust fan run 24/7?
Continuous low-speed operation is common, with speed adjustments for temperature and humidity. A properly configured controller can help maintain stable conditions.
What is a reasonable humidity range during flowering?
Many growers start around 45–60% in early flowering and aim closer to 40–50% later, while watching leaf temperature, condensation and disease risk.
Do I need a VPD controller?
No. A reliable temperature/humidity sensor and basic ventilation are enough to begin. VPD becomes more useful when you want finer environmental control.
Where should I put the thermometer and hygrometer?
Near canopy height, protected from direct light and humidifier mist. A second sensor outside the tent helps you compare intake-room conditions.
Why does humidity rise after lights go off?
As air cools, its relative humidity rises even if the amount of water vapor stays the same. Plant transpiration and wet media can add more moisture.
Can I exhaust the tent back into the same room?
You can, but that room must still handle the added heat and moisture. Without room ventilation or dehumidification, the tent may keep drawing in the same warm, humid air.
What is the easiest way to improve ventilation?
Start by checking the exhaust path, clearing intake openings, positioning circulation fans properly, and measuring both tent and room conditions before buying additional equipment.
Why are my lights-off temperatures dropping so much?
The room is cold. Reduce fan speed during lights-off or warm the room slightly.
Keep Learning
Disclaimer: For adults 21+ and educational purposes only. Grow only where home cultivation is legal, and follow your state and local rules. We make no medical claims. Product details, prices and policies are set by the seller and can change, so check the seller’s page before you buy.